Car door edge guard protectors can be used on most cars to help protect against dinks and scratches when opening your car door. They are fairly easy to install and can be purchased in a variety of colours to match the colour of your vehicle. As a semi-flexible product, edge guard protectors can be bent around gradual corners on the perimeter of the car door.
These protector trims contain a self-gripping metal-reinforced spine that securely attaches to the edge of a car door. This design allows the trim to be removed and reused multiple times while enhancing its durability and protecting the underlying surface from damage. These sections come in a variety of sizes manufactured to fit different panel thicknesses.
Most of these trims are sold by the linear meter and feature a consistent profile throughout their entire length.
This guide from Seals Direct will help you recognise when it’s time to replace your door edge guard, select the right replacement, and fit it onto your vehicle.

Step 1: Different Rubber Seals Used on a Car
There are three main types of self-gripping edge guard protectors;
1 – Edge Trims
2 – Edge Trims with Top Seal
3 – Edge Trims with Side Seal
Although your vehicle will most likely contain all of these profiles, they are typically used for specific applications. Edge trims with side seals are generally fitted on car doors where the rubber section fits over a protruding edge and the door closes against the side of this edge. This allows the sponge sealing bulb to compress and create a watertight seal when the door is closed. Edge trims with top seals are usually fitted on bonnets and boots where the section fits over a vertical edge.
As the edge of a car door does not need to create a watertight seal, universal edge trims are typically used as edge guard protectors. These clip onto the side of the panel to protect the surface and anything it touches from damage.

The following steps within this guide discuss how to identify and replace this type of product. If your current sealing profile resembles an edge trim with side seal or edge trim with top seal, please take a look at the following technical help guide; How to Identify and Replace a Car Door Seal and How to Identify a Replace a Car Boot Seal.
Step 2: Measure the Car Door Thickness

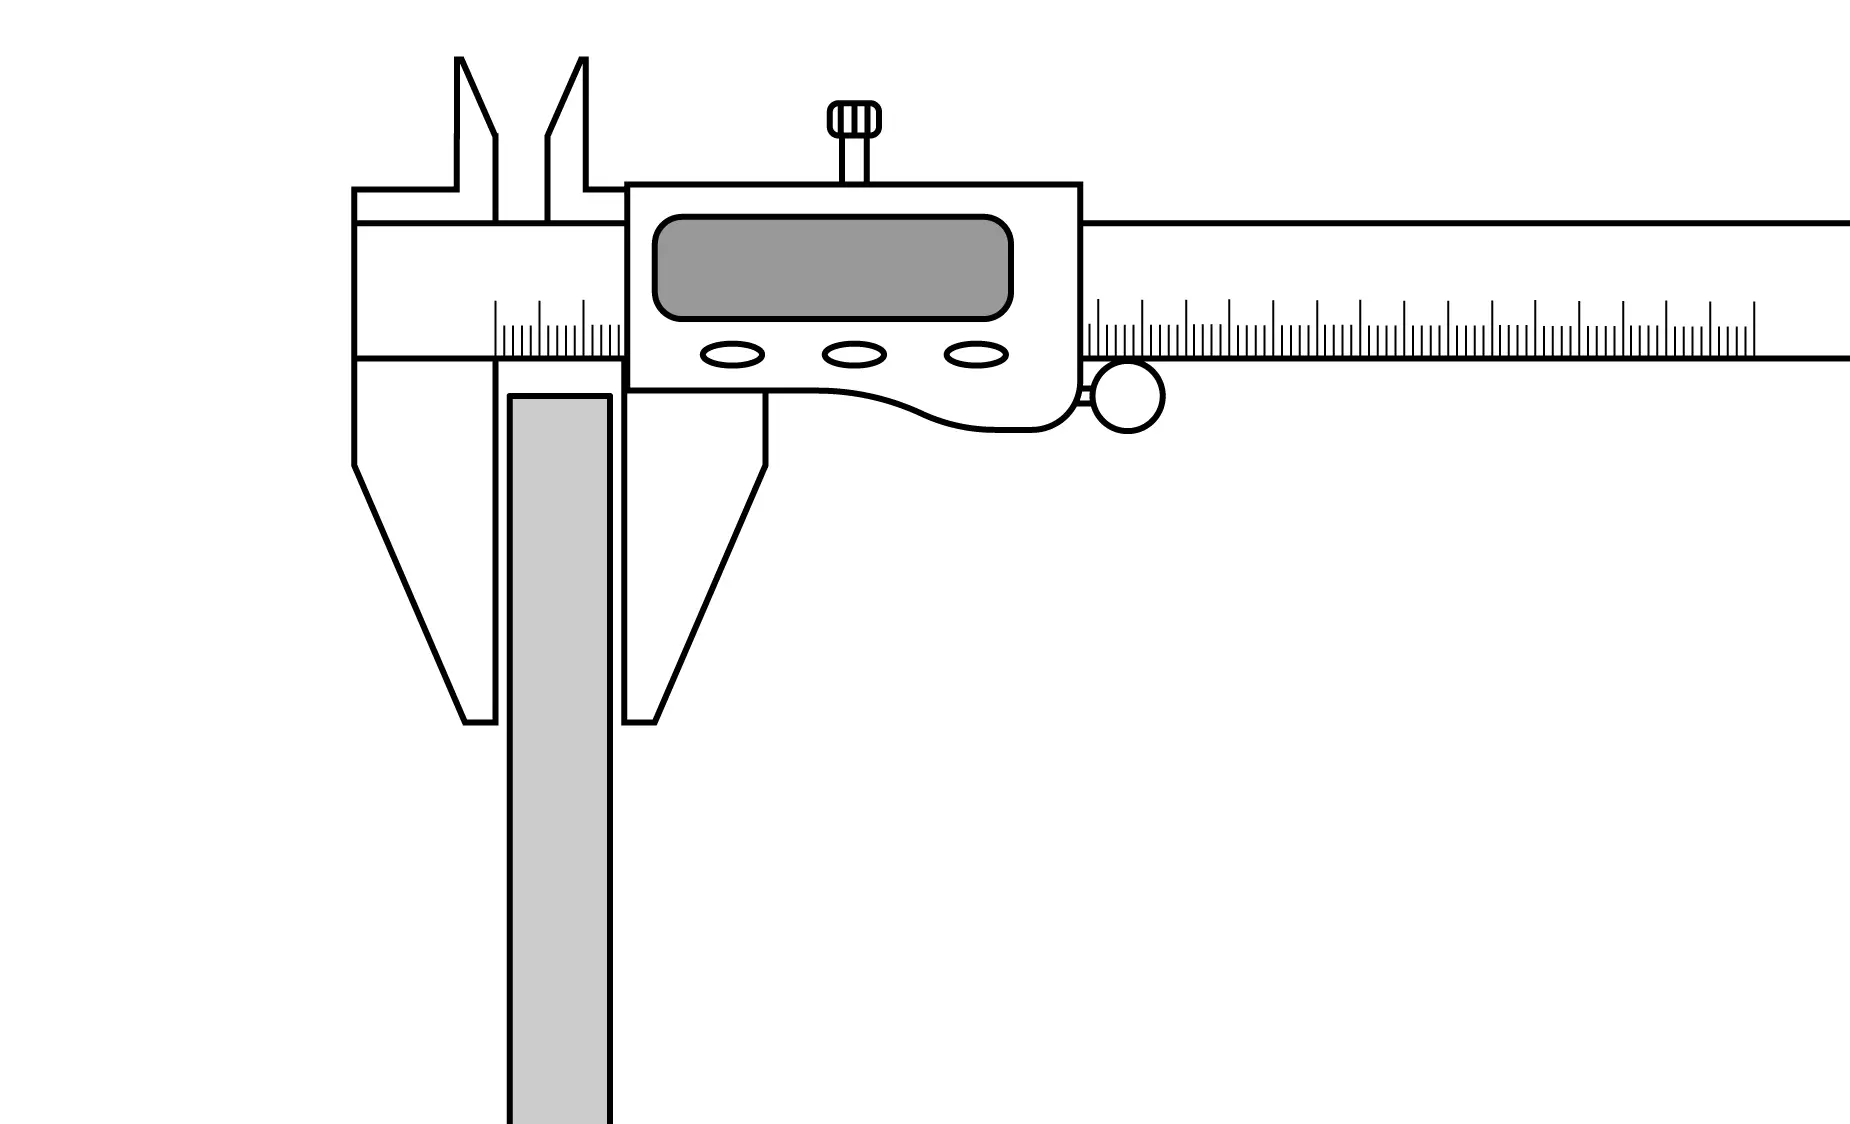
To identify a trim suitable for your door, you will need to measure the thickness of the area where you intend to attach the edge guard protector. Typically, this will be the edge of the door next to the handle. As these are fairly small sections, you will only need to measure 10mm to 15mm in from the edge.
In most vehicles, this thickness typically ranges from 1.5mm to 3mm but may vary depending on the construction of your vehicle. For precise measurements, use a Vernier caliper to determine the panel thickness in millimeters. This ensures you select and purchase a replacement section that fits snugly over the edge without being too loose, which could lead to detachment.
You will need to measure the thickness of this edge at various different places around the car door. This will ensure that your door is a consistent thickness all the way around the aperture.
Step 3: Order a Replacement Door Edge Guard Protector
Once you know the thickness of your car, you can use this measurement to purchase a replacement section. The majority of these products are sold by the metre.
Step 4: Fit the Edge Guard Protector Onto Your Door
After you have purchased and received your chosen product, you can fit the section onto your car door. Installing an edge guard protector is a fairly simple process. Start by cleaning the door edge with soapy water or rubbing alcohol to remove dirt and grease. This will ensure the protector adheres properly without slipping or trapping dirt that may scratch the paintwork.
Measure the length of the door edge you want to cover and cut the edge guard protector to size using scissors or a utility knife. As these products contain a metal spine, you will need to cut between the ridges on top of the section. Practice on a small off-cut so you know exactly where and how to cut before cutting the length that will be fitted onto your vehicle. If any metal is exposed, use a pair of plyers to pull out the visible metal spine at either end of the cut length.
Align the protector with the door edge and press it into place, starting from one end and working along the length. For a tighter fit, you can gently tap the protector with a rubber mallet, being careful not to damage the paint or dent the bodywork.
Once installed, check that the protector is secure and evenly fitted, then open and close the door to ensure it operates smoothly without interference.
Seals Direct is a leading supplier of rubber seals and trims for the automotive industry. If you are looking for a replacement rubber seal for your vehicle, we can help you find a suitable replacement from our inventory of over 760 stocked products.
Contact our technical team by email at sales@sealsplusdirect.co.uk or via phone on 01425 617722 for help and advice with selecting the best product for your application.