Over time the seals holding the Perspex or glass in your boat, car, van or caravan may shrink, perish and become less effective so need to be replaced to prevent water ingress and damage. This guide details how to take measurements to identify the best replacement seal and then the steps required to fit it into your boat or van.
Video Demonstration
Whilst replacing this window rubber is a relatively straight forward process, there are a number of steps that may cause confusion if this is the first time you have undertaken a claytonrite window seal replacement. It is often useful to watch the entire process be completed by someone else, prior to replacing your own seal.
This video demonstration runs through the process of removing the existing rubber seal and taking measurements of the thickness of the panel and glass to identify the best replacement section. It then shows how to fit the new window rubber and filler strip.
Step 1: Remove the Filler Strip
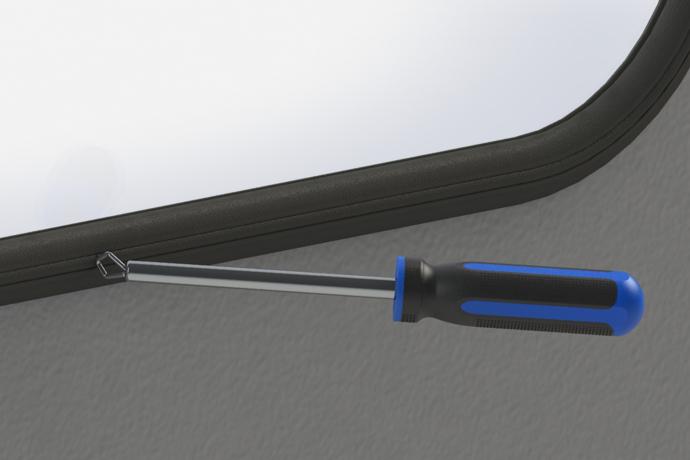
Claytonrite window seals contain a filler strip which applies compression onto the panel and glass to hold the seal firmly in place. This filler strip needs to be removed before you can remove the actual window rubber and glass.
Locate the end of the filler strip and insert the glazing tool into the joint. Hook the end of the filler strip and pull it out all the way around the seal.
Step 2:Remove the Window
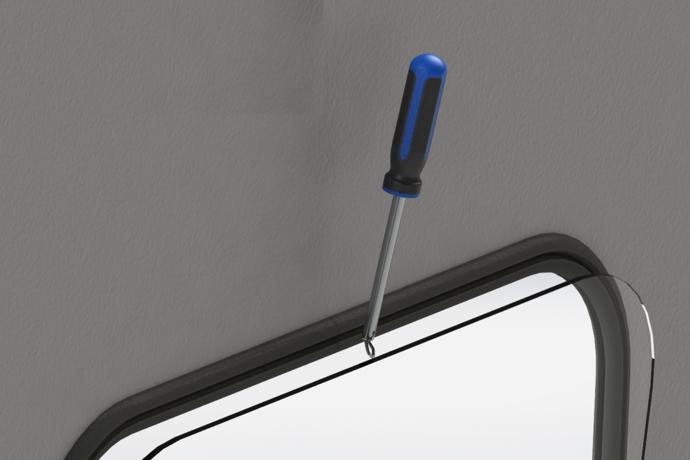
The next step is to remove the window pane. Insert the glazing tool into the top middle face of the seal and hook it around the back of the window. Gently lever the window forwards until it separates from the rubber. You may need to insert the glazing tool and lever forwards at several different points around the rubber seal.
Once the glass or Perspex has been removed, you can remove the existing seal.
Step 3: Measure the Glass, Panel and Web Thickness
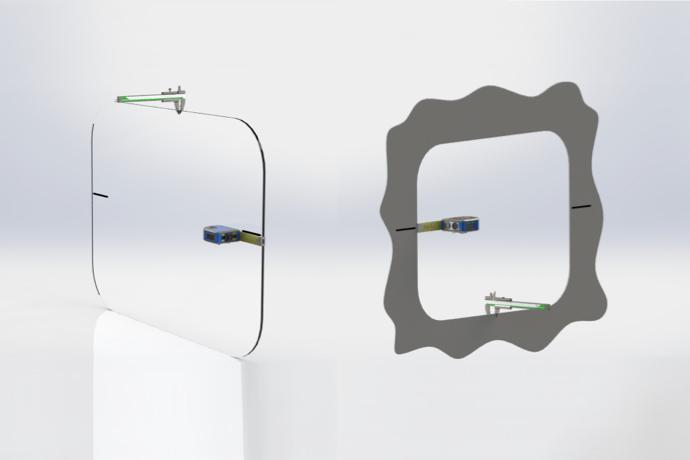
Claytonrite window seals are sold in a range of sizes depending on the thickness of the wall and glass / Perspex. Measure the thickness of these using a Vernier or tape measure. It is important to be very precise with your measurements as the difference between two seals can be as little as one millimetre.
You will also need to calculate the web thickness. The web is the difference in size between the glass and aperture / hole. To take this measurement, measure the width of the glass and the width of the aperture and then deduct one from the other. For example, if the glass measures 1000mm and the aperture measures 1016mm, you will have a gap of 8mm on the left of the window and 8mm on the right of the window. You should therefore look for a replacement seal with a web around 6mm to 8mm. Take these measurements at several points around the window to ensure there is an even gap all the way around.
Finally, measure around the window and calculate how many metres you need to purchase. It is best to purchase slightly more than you require as you will need to cut the seal over length during fitting. This is to enable a tight compression fit.
Step 4: Identifying the Correct Replacement Claytonrite Seal
Step 5: Fitting the Replacement Claytonrite Seal
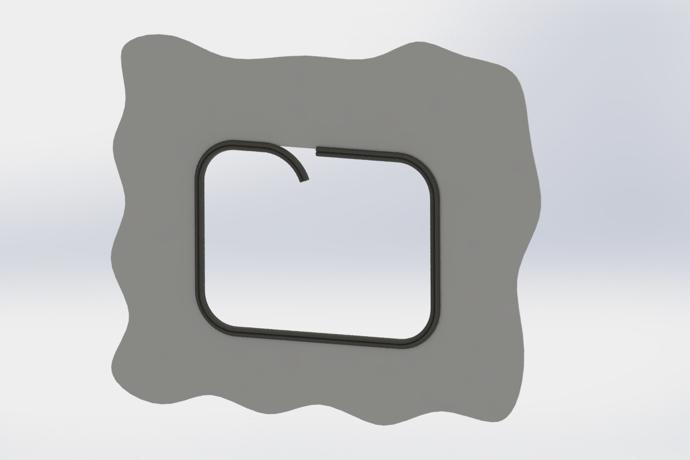
After purchasing the correct replacement window rubber and filler strip you can start fitting the new seal.
If you are fitting more than one window, cut your seal to length ensuring that it is slightly longer than required.
Fit the window rubber to the panel ensuring that you choose the correct orientation of the rubber seal if the panel thickness is different to the window thickness. The filler strip groove should be on the outside. Start at the middle of the top of the window aperture and work your way around pushing the seal tightly against the panel edge especially in the corners. Once you have been all the way around the window aperture and are back where you started, cut the seal to length ensuring it is slightly over length. Push the final end in place ensuring it is a very tight fit.
Step 6: Fitting the Window Into the Claytonrite Window Rubber
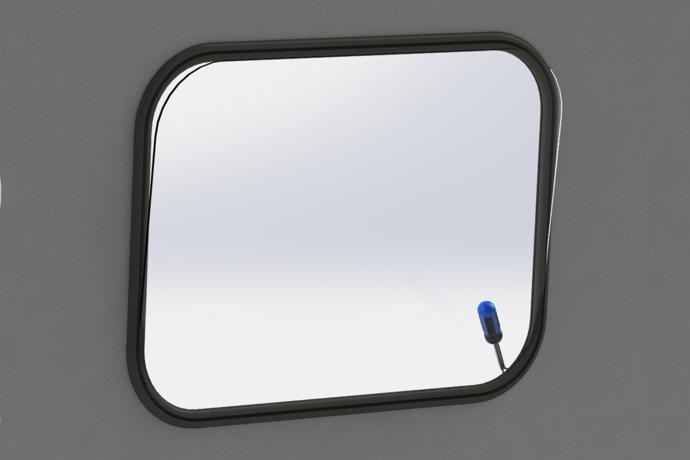
Squirt a small amount of diluted washing up liquid into the groove of the window rubber which holds the glass. This will lubricate the rubber and make the window easier to fit. Take the glass and insert it into the bottom groove of the window rubber. Using the glazing tool lever the glass into the window rubber groove all the way around.
Step 7: Fitting the Filler Strip Into the Claytonrite Window Rubber
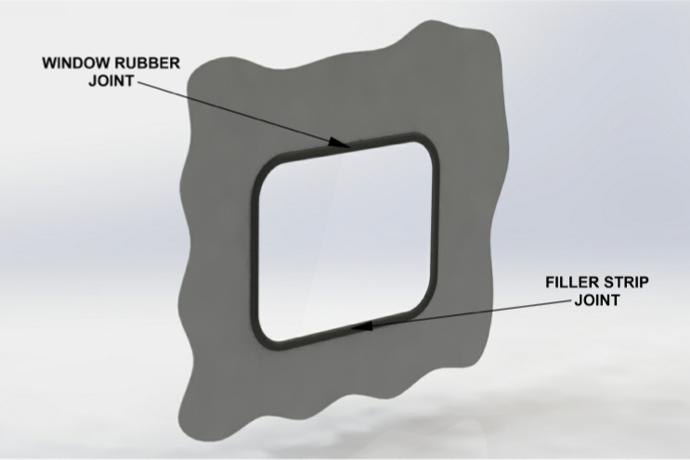
Once you have fitted the window into the window rubber, it is time to fit the filler strip. Before doing this, pour a small amount of washing up liquid into the filler strip channel in the window rubber.
Starting at the middle of the bottom, insert the glazing tool into the groove and place the filler strip into the loop of the tool. Run the tool around the groove following the length of filler strip. This should now be placing the filler strip into the groove. Once you have fitted the filler strip all the way around, trim off any excess making sure that it is slightly longer and then push the final end in.